ejs module
We can install ejs module by this code.1
npm install ejs;
Then, npm installs eternal modules.
We can use those by the same way to internal modules.1
var ejs = require('ejs');
Module ejs is the engine of template.
So it translates specific String to HTML type String.
We will make the server page which changes ejs page to HTML page.
When we translate ejs to HTML page, we use render(str, data, option) of ejs module.
Though we can use variables after declaring in ejs in side,
usually people declare them in Javascript and pass them to ejs for using.
When we pass Javascript‘ variables, we use the 2nd parameter of render() method like 9, 10th row.
Tip — we should set UTF-8 as that file’s encoding
1 | var http = require("http"); |
When we write ejs page, we can use some special tags.
<% Code %>→ writing Javascript code inside<%= Value %>→ printing the data
With using these tags, I made ejsPage.ejs file like this.
1 | <h1><%=name%></h1> |
Starting the server, we can see this page.

Jade module
Jade module is one of template engine modules too like ejs module.
We can install that by the same way to ejs like this1
npm install jade
When jade module translates jade page to HTML page, it uses compile(string,option)method.
One different thing is that if ejs‘ render() returns String, compile() returns a function. And we can pass Javascript‘ variable with the function.
We put them as the parameter of the function which compile() returned like 11, 12 rows.
1 | var http = require("http"); |
Jade has special way to write down the page too like ejs.
The most important thing is making an indentation.Jade module makes new HTML tag based on each indentations.
Tip: we should use ‘tap’ or ‘space bar’ for every indentation. If not, there will be an error
When we input words in the tag, we go to the next row and make an indentation again and then write down them there.
And If we want to give an attribute to the tag, we give it with parenthesis.
(if we want to give many attributes, we divide them by ,)
Jade translates some specific words in special way like doctype or annotation,
doctype html→<!DOCTYPE html>// JADE String→<!-- JADE String -->
Especially making new div tag, we don’t need to write ‘div’ down.
If we write #header for example, that makes the div tag having ‘header’ as its id.
As the same way, .article makes the div having ‘article’ as its class.
Jade has special tags too.
-Code→ writing Javascript code#{Value}→ printing the value (inputting the value between content)=Value→ printing the value (whole content becomes value)
Using these tags, we can make for repetitive statement like 11th row.
Based on what I mentioned, we can make this code.
1 | doctype html |
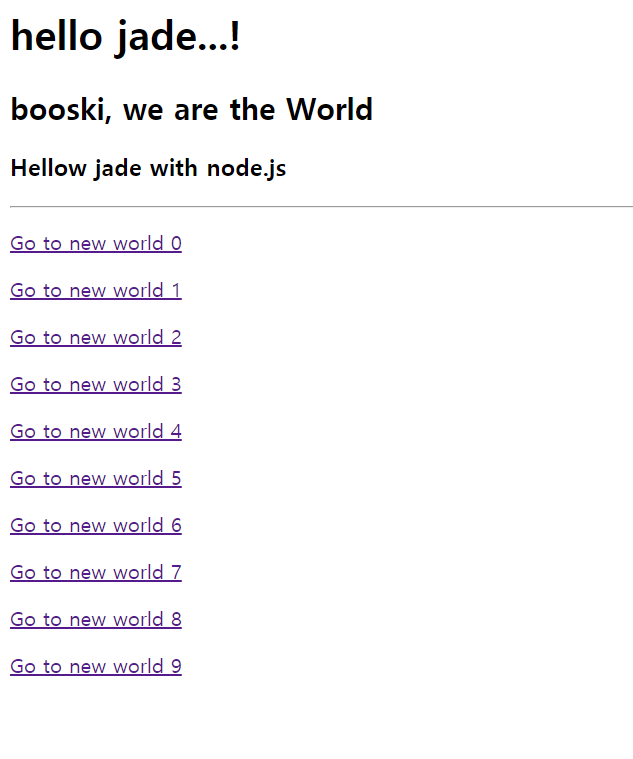
And this code shows this page well.